Wednesday, January 23, 2013

A different kind of stitchin' !

So, my daughter has this chair that she loves.
I'd looked for another one like it but hadn't been able to find one.  I also couldn't find a replacement seat cover, it needed to have a waterproof fabric.   So me and my 'I can do it myself' attitude decided that I could take it apart, make a pattern and make a new one.  Easy.

But then I worried what if I took it apart and couldn't get it back together right?  It's not like I haven't done other upholstery work.  I'd covered an entire couch and made seat covers for a car and the benches and chairs for my kitchen dining set.

I work best when I give myself deadlines, so I decided this past weekend was my deadline to finish this chair. Plus Stefani wasn't having much success with her other chairs.  For those of you who don't know me personally, my daughter Stefani has both physical and mental delays so having a chair that she won't slide out of or fall off of is VERY important.

So I put aside my knitting needles, crochet hooks and sat at my sewing machine.  Last month I made new curtains for two bedrooms so it's not like I hadn't sewed recently.  As proof to my family that I was actually finishing the chair (I'd bought the fabric at least a year ago) I took pictures of the process to send to them as I worked, so I decided to also post the pictures here.  It shows that my stitching skills aren't limited to working with yarn!  And yes, I sat in the chair first to test the strength of it :)

A very well loved, well worn chair

The chair was well put together!  I had to take each stitch apart individually.

The frame was still in very good shape

Getting ready to make the patterns  
 
Making sure the pattern pieces fit together

You can tell I'd had this vinyl fabric for a while, look at the creases.  When I bought it, the store was in the process of moving and didn't have many color choices.

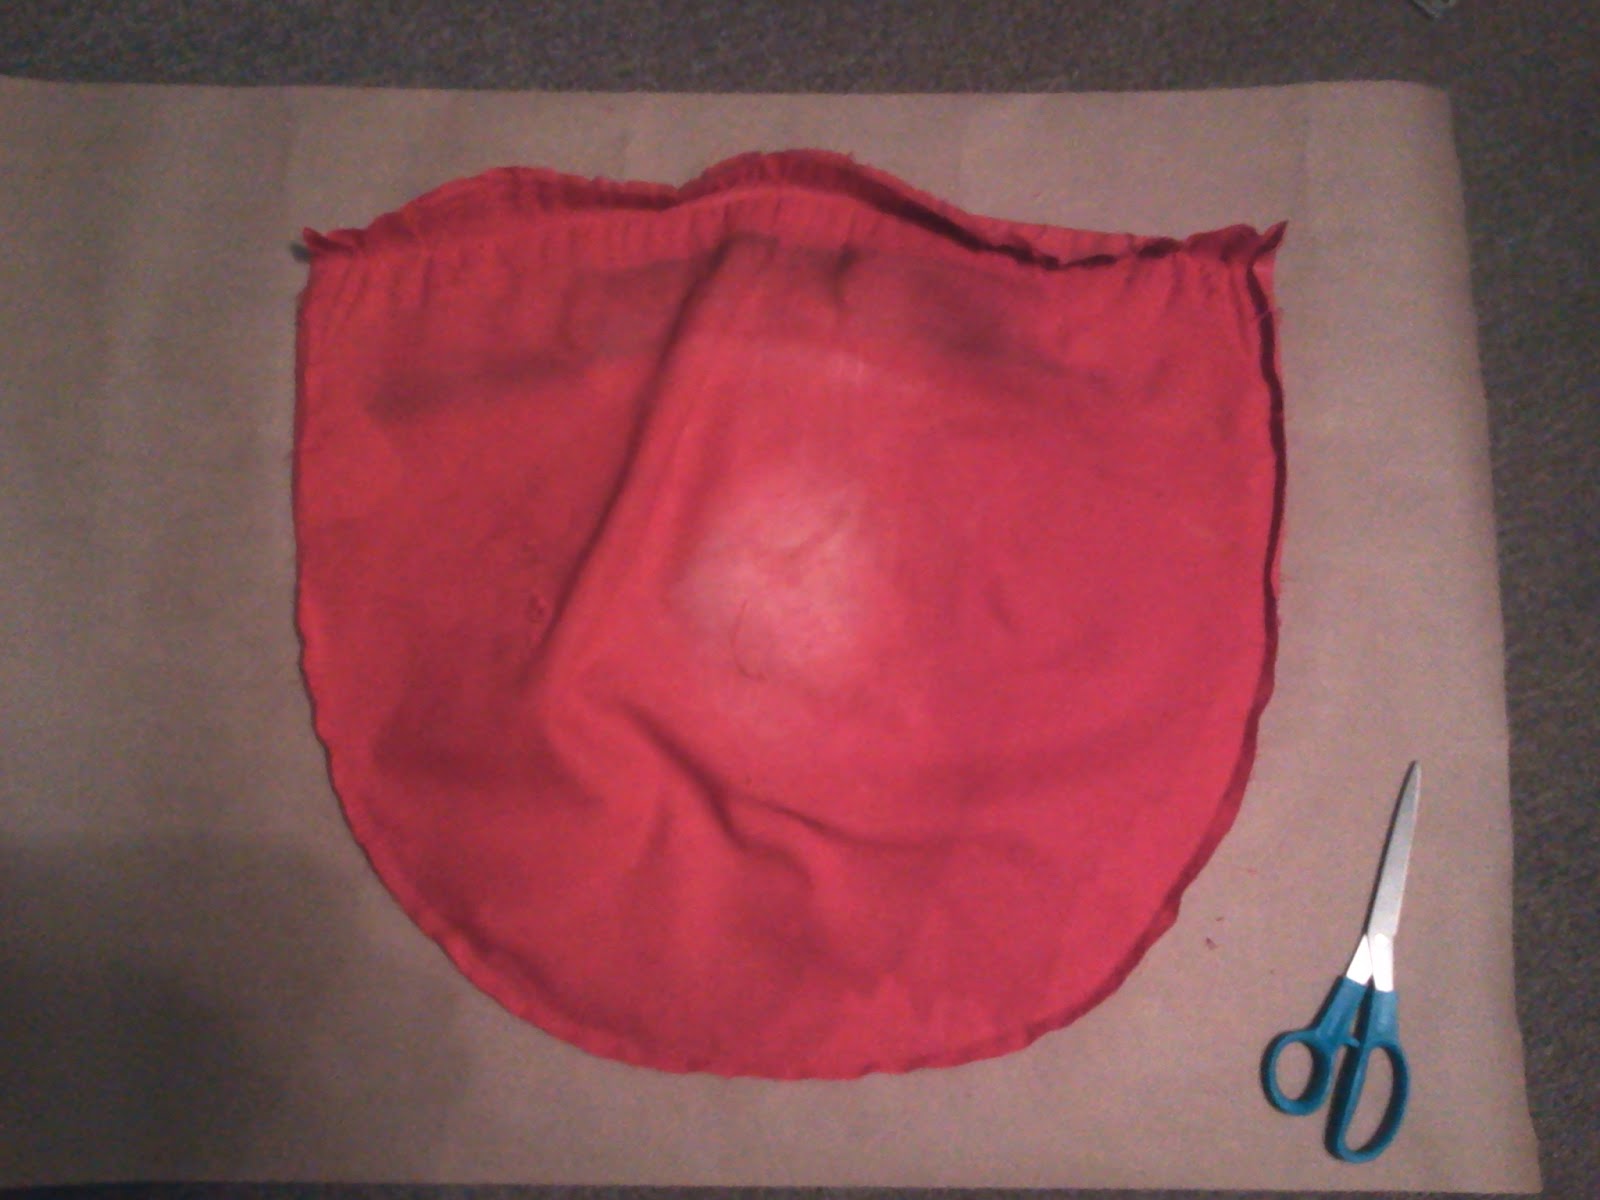
Pattern made, time to cut the fabric

These are the web-nylon strap like pieces that were used to attach the seat cover to the seat frame. Red was the original, black was what I bought to use but I was able to reuse some of the red.

This is the back of the chair.  And yes I scotch guarded it

Ta-da!  Better than new.  I'm keeping the pattern just in case I need to recover the chair in a few years.                            Now on to my next project!


Wednesday, January 16, 2013

Working together works!

Who would have thought that all those separate swatches would end up looking so good together?
We finished our first yarn bombing project!

It's created even more excitement among the staff and library volunteers who are creating sections.  Many are working on more for the second chair we'll cover and there's talk of covering something in the circulation area. 

Thank you everyone who has participated as well as those who thought about it!

The front

The back

This tag explains the project

Sunday, January 13, 2013

Did you ever cover a clothes hanger with yarn?

If so, then YOU yarn bombed!  I don't remember what we called it "back in the day" but that's what it would be called today.

The following info was originally posted late last year and since not all viewers to my blog go back to read old posts, I decided to re-post it to share info on yarn bombing.  

Yarn bombing, yarnbombing, yarnstorming, guerrilla knitting, urban knitting or graffiti knitting is a type of graffiti or street art that employs colorful displays of knitted or crocheted yarn or fiber rather than paint or chalk.


Friday, January 11, 2013

25% off!


This Saturday and Sunday,  January 12-13, 2013 - Michaels Arts and Crafts stores will offer 25% off their knit and crochet classes.  So instead of paying $25.00 for each class you'll only pay $18.75!

Each Michaels location will have information on all of the classes offered so be sure to stop by and see if there's anything else you'd like to learn.

 Check my calendar to see my upcoming schedules for both the Avon and E. Washington St stores where I teach.  Remember, there has to be at least 2 paying students in each class or it will need to be rescheduled. So bring a friend!

If you're looking for a FREE opportunity to learn knit and /or crochet, I'm at the Haughville Library the 4th Tuesday of each month from 6-8:30 pm and the  College Avenue Library the 1st Saturday of each month from 10:30 am - 12:30 pm.

For more information, click on the tabs at the top of this page.  You'll find separate pages for each of the locations that I teach as well as other information.


Thursday, January 10, 2013

Updated yarn bombing update


These are the latest contributions to our Yarn Bombing project at the College Avenue Library Branch.  I'll combine these with what we have so far.  We should have enough for one of the chairs to be covered.  I'll post pictures next week.

Sunday, January 6, 2013

A behind the scenes look at a knit project

This is the chart instructions for these hand warmers.  It's similar to a cross stitch chart and eliminates writing out each specific stitch  for each row  .


I found that it helped to mark the needles (and I used 2 different colors)  RS for the right side and WS for the wrong side when reading the chart.   Notice the markers to separate the 3 different sections?
 
The piece is sewn together leaving an opening for the thumb.


I thought I'd show more than just a finished project this time.  I knitted these cabled hand warmers from a chart. At first glance a chart looks intimidating but the secret is to know "how" to read it.  You start in the right hand bottom corner and read the first row from right to left then the 2nd row reads from left to right.  The "key" shows the symbols that represent the different stitches.

When starting the pattern, I'd forget if I was on the right or wrong side so I tried 2 things - different colored needles and post-it notes with RS and WS written on them and attached to the needles.  This helped a lot. 

Also different about this pattern is the hand warmers are worked from side to side and not top to bottom (or bottom to top) as many are made. A lot of times when I  make something, it's because I want to try the technique. It's like a challenge to me and makes figuring the pattern out worth it. I also made this pair to  match the brown cowl that I finished not too long ago.


Then I whipped up these 2 crocheted cowls last week.  The red one is a "re-purposed" project.  I'd knitted a scarf from this red yarn a few years ago and liked the color but hadn't worn the scarf much. Since I'm so into cowls lately, and hadn't been able to find a shade of red that I really liked, I "untangled" the scarf and crocheted this cowl.